
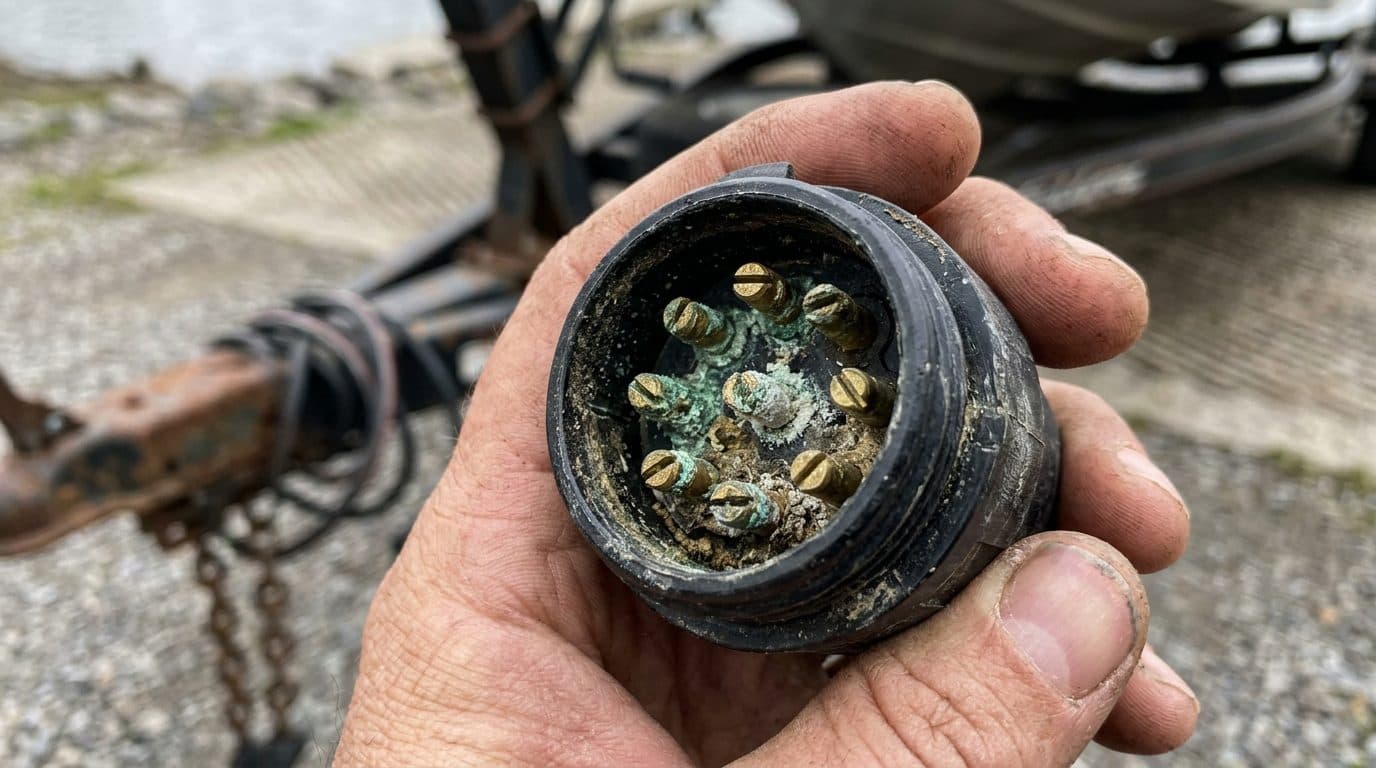
When trailer lights quit, the lights themselves are rarely the problem. Most failures are a bad ground or a corroded connection somewhere between the truck and the tail light — and trailers, especially boat trailers, are about the worst place a connection can live.
Work from the vehicle back to the trailer. This guide shows the order to test in, how to recognise each fault, and how to repair the wiring so the same fault does not come back next season.
Start at the Vehicle: Test the Socket First
Unplug the trailer and test the vehicle's socket on its own. A 12-volt test light is enough: clip its ground lead to the socket's ground pin (or clean bare metal on the hitch receiver), then probe each pin while someone works the lights, the brake pedal and each turn signal.
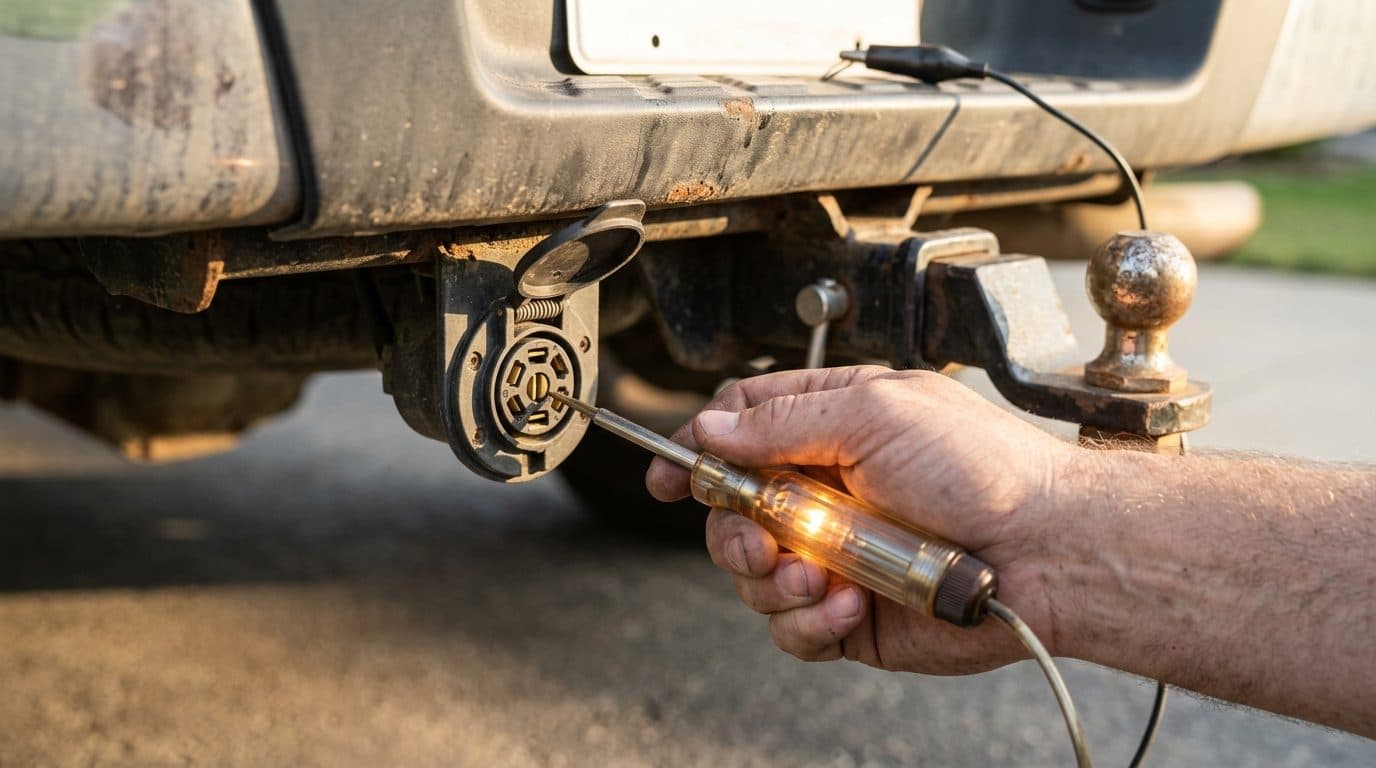
Socket is dead or wrong
The fault is on the vehicle: a tow fuse, tow relay, tow converter or module, or a corroded socket. Check the owner's manual for the trailer fuses before anything else.
Socket tests good
The vehicle is fine. Plug the trailer back in and work along the trailer: plug, ground, wiring, splices, lights.
4-Way and 7-Way Trailer Plug Wiring
A 4-way flat plug is standard on small utility and boat trailers, and its colours are consistent:
| Wire | Circuit |
|---|---|
| White | Ground |
| Brown | Tail, running and side marker lights |
| Yellow | Left turn signal and left brake light |
| Green | Right turn signal and right brake light |
A 7-way round plug (RV blade) carries the same four lighting circuits plus three more:
| Circuit | What it does |
|---|---|
| Ground | Return path for every circuit |
| Tail / running lights | Same job as brown on a 4-way |
| Left turn and brake | Same job as yellow on a 4-way |
| Right turn and brake | Same job as green on a 4-way |
| Electric brakes | Output from the brake controller |
| 12 V auxiliary | Battery charge line for a breakaway or camper battery |
| Reverse / auxiliary | Usually the center pin: reverse lights or surge-brake lockout |
Wire colours on 7-way plugs are not consistent between manufacturers, and the trailer side often differs from the vehicle side. Use the diagram printed inside your plug or socket and confirm each pin with a test light — never wire by colour alone.
Cause 1: A Bad Ground — the Most Common Fault
Every light needs a clean path back to the vehicle through the white ground wire. When that path is poor, current looks for another way back — through the other bulbs — and the lights start doing strange things.
Signs of a bad ground:
- Lights that are dim, or that get brighter when you press the brake
- Lights that flicker as the trailer moves
- Pressing the brake or a turn signal lights up the wrong lamps, or all of them
- One side works and the other does not, with no blown bulb
The fix
- Find where the white wire bolts to the trailer frame. Remove it, clean the frame to bare, bright metal, and refit it with a star washer.
- Do not rely on the hitch ball and coupler for ground. Paint, grease and rust make it unreliable.
- On a galvanized or painted trailer, or one with ongoing problems, run a dedicated ground wire from the plug to each light instead of grounding each light to the frame.
- Protect the finished ground bolt from water, or it will be back to rust in a season.
Cause 2: Corroded Plug Pins and Socket
The plug spends its life hanging off the trailer tongue, dragging through road spray and, on a boat trailer, getting dunked. Green or white crust on the pins adds resistance to every circuit at once.
- Clean the pins and the socket contacts with electrical contact cleaner and a small brass brush or a fine file.
- Bend a flat-pin contact slightly if it no longer grips its partner.
- Pack the plug with dielectric grease before reconnecting. It keeps water out without stopping the pins from making contact.
- Cap the vehicle socket and hang the trailer plug up off the ground when stored.
- If the pins are eaten away or the plug body is cracked, replace the plug — and seal the new connections behind it.
Cause 3: Broken or Chafed Wires
If the plug and ground are good but a circuit is still dead, the wire is broken somewhere along the trailer. Look first at the places that move or rub:
- The tongue, especially on folding or swing-away tongues
- Holes where the harness passes through the frame without a grommet
- Under the fenders, where tyres throw stones and water
- Old splices — particularly any made with twisted wire and tape
To pin it down, check continuity: unplug the trailer, set a multimeter to resistance, and measure from the plug pin to the wire at the light. An open reading means the break is between those two points; halve the distance and test again.
How to Make Trailer Wiring Repairs That Last
Trailer wiring fails at its joints, and it fails because water gets in. Once it reaches bare copper it wicks along the strands inside the insulation, so a splice that looks fine on the outside can be green for inches underneath. A repair that lasts has to be both mechanically solid and sealed.
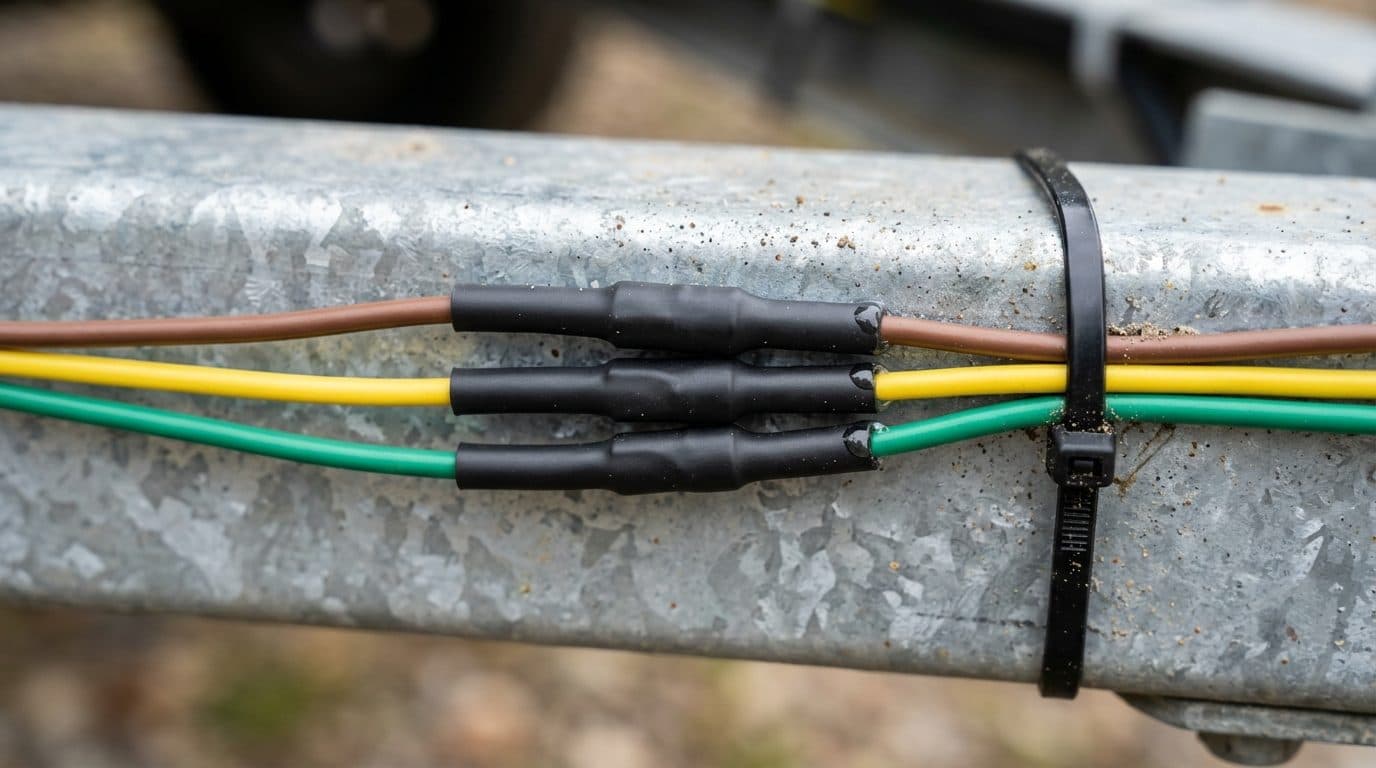
Step by step
- 01Cut out the damaged or corroded section until the copper is bright on both sides. If the corrosion runs further than you can cut, replace that run of wire.
- 02Slide a piece of adhesive-lined heat shrink onto one wire before you join anything.
- 03Strip about 1/4" and crimp the wires into a butt connector with a proper crimping tool. Tug-test it.
- 04Centre the tubing over the connector so it overlaps the insulation on both sides.
- 05Heat with a heat gun at 300–400°C (572–752°F), from the middle out to each end.
- 06Keep heating after it looks shrunk: the lining only flows at 120°C (248°F). You are done when a small bead of adhesive shows at both ends.
- 07Secure the harness so the repaired section cannot rub on the frame.
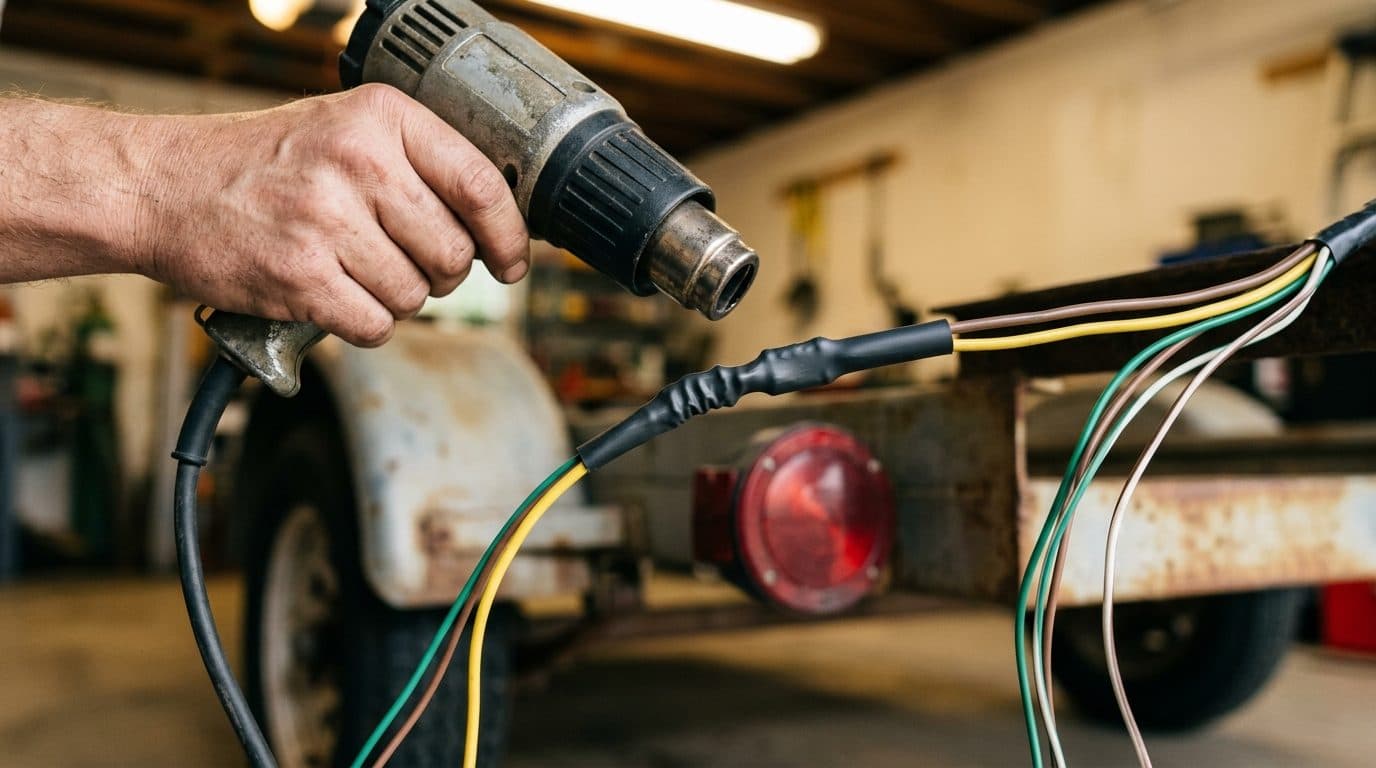
What size heat shrink for trailer wire splices
Size the tube to the crimped connector, not the wire — the connector is the widest part the tube must slide over.
| Joint | Connector width | 3:1 dual wall size |
|---|---|---|
| 22–18 AWG · insulated butt splice | 5–6 mm | 1/4" |
| 16–14 AWG · insulated butt splice | 7–8 mm | 3/8" |
Most trailer lighting harness is 16 or 14 AWG, so 3/8" dual wall covers the usual splice. For a different connector, measure it and use the heat shrink size calculator.
Why not just tape it?
Electrical tape lets water in at its edges, and its adhesive softens in heat and gives up in road salt. On a trailer that is a splice you will be redoing next year. The full comparison is in heat shrink vs electrical tape; for pre-made sealed connectors see heat shrink butt connectors.
Causes 4 to 7: The Rest of the List
4. Fuse, relay or tow module on the vehicle
If the socket tested dead, start with the tow fuses and relays listed in the owner's manual. Many vehicles route trailer lighting through a tow converter or module, which can fail on its own — especially after a short on the trailer side.
5. Bulbs and LED lights
An incandescent bulb with a broken filament or a corroded socket is easy to spot. LED lights fail differently: water gets in where the lead enters the housing and corrodes the board. Sealed LED lights are the better choice for any trailer that gets wet, and the lead splice deserves the same sealed repair as the rest of the harness.
6. Wiring mixed up after a replacement
If the trouble started right after a new plug or new lights went on, check the connections against the plug diagram. Left and right swapped, or brown and green crossed, is a common mistake.
7. Water inside an old splice
A splice made years ago, especially with tape or a non-sealed connector, can look fine and still be green inside. If a circuit tests intermittent, cut out the old splice and redo it as above.
Boat Trailers: The Extra Steps
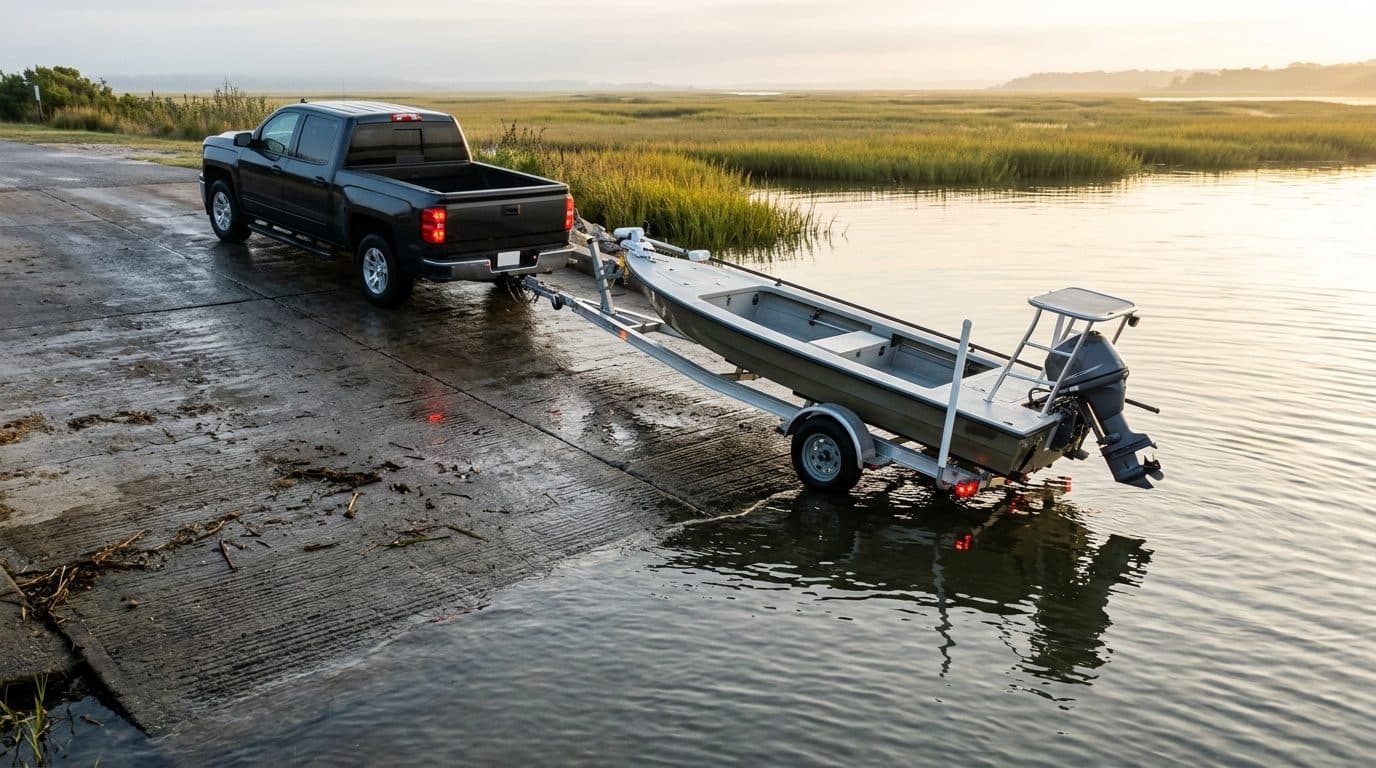
- Unplug the trailer before you back into the water, so hot incandescent bulbs can cool instead of cracking when they hit cold water.
- Rinse the lights, wiring and plug with fresh water after every saltwater launch.
- Use submersible LED lights and tinned marine wire.
- Seal every splice with adhesive-lined heat shrink — on a boat trailer there is no such thing as a splice that stays dry.
- Check everything at the start of each season, before the first trip.
More on sealing connections that live in salt water in our marine wiring guide and the pre-season boat wiring checklist.
SEAL YOUR TRAILER SPLICES
3:1 dual wall adhesive-lined heat shrink. 10 ft short packs for a single repair.
Frequently Asked Questions
Why do my trailer running lights work but not the brake lights or turn signals?
Brake and turn share one wire per side on most trailers, so check those two circuits at the vehicle socket first. If the socket shows no signal, look at the tow fuses and the tow converter or module on the vehicle. If the socket is fine, the fault is in the yellow or green wire, its splice, or the light itself.
Why do all my trailer lights come on when I hit the brakes?
That is almost always a bad ground. When a light has no good path back to the vehicle, current finds a way back through the other bulbs, so pressing the brake lights things that should be off. Clean the ground at the frame, and run a dedicated ground wire to the plug and each light.
How do I check a trailer ground?
Set a multimeter to resistance (ohms), put one lead on the white ground pin of the trailer plug and the other on bare metal at the trailer frame, then on the ground terminal of each light. You want close to zero ohms. Anything more than about one ohm points to a corroded or loose ground.
Why do my trailer lights work on one truck but not another?
The trailer is probably fine and the problem is on the vehicle that fails: a blown tow fuse, a failed tow converter, or a corroded socket. Some vehicles also need a powered converter because their lighting circuits cannot drive trailer lights directly. Test that vehicle's socket with a test light.
What causes trailer lights to flicker?
A loose or corroded connection that makes and breaks contact as the trailer moves — most often the ground, the plug pins, or a splice. Wiggle the plug and the harness with the lights on; when the flicker follows your hand you have found it.
Can I use electrical tape on trailer wiring?
It will get you home, but it will not last. Tape lets water in at the edges, the adhesive gives up in heat and road salt, and the splice underneath corrodes. A crimped joint sealed with adhesive-lined heat shrink is waterproof and stays that way.
Related Articles
Heat Shrink Butt Connectors
Waterproof crimp splices — sizing, installation and when to use them.
How to Waterproof Wire Connections
The professional method for splices that live outdoors.
How to Clean Battery Terminal Corrosion
Clean it, check the cable, and seal the lug so it stays clean.
Heat Gun for Heat Shrink Tubing
Temperatures, nozzles and technique by tube size.
Trailer Wiring Repair
Fix It Once. Seal It Against the Next Launch.
Helixal 3:1 dual wall heat shrink: outer jacket rated VW-1 flame-retardant, an anti-oxidation layer, and an adhesive lining that seals every splice against water and road salt.