
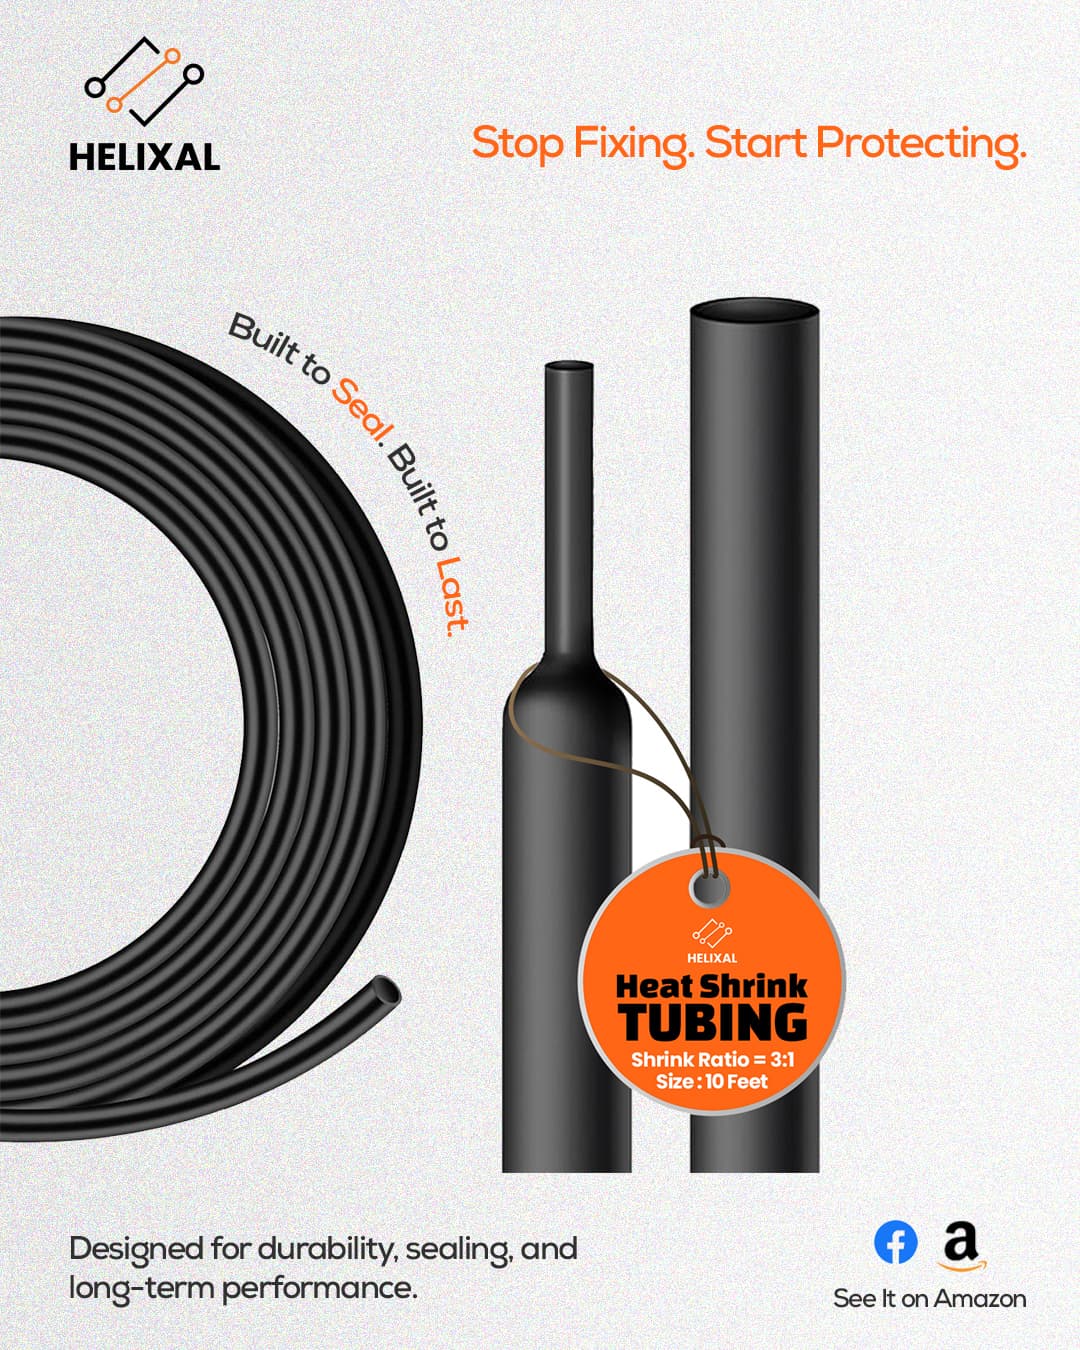
Shrink ratio is the single number that decides whether a tube fits your job. It tells you how far heat shrink tubing collapses when you heat it: a 2:1 tube shrinks to half its supplied diameter, a 3:1 tube to one-third, and a 4:1 tube to one-quarter. Pick the wrong ratio and the tube either won't slide over the connector, or it shrinks down but never grips the wire.
This guide explains what each ratio actually means, the simple formula behind it, and the exact rule for choosing 2:1, 3:1, or 4:1 by the shape and environment of your connection — so you order the right tube the first time.
What “Shrink Ratio” Actually Means
Heat shrink tubing is manufactured, then expanded and cooled so it holds an oversized diameter. When you reheat it, it “remembers” and collapses back toward its original size. The shrink ratio compares the supplied (expanded) diameter to the fully recovered diameter:
Recovered ID = Expanded ID ÷ Shrink Ratio
Example: a 3:1 tube with a 6 mm expanded inner diameter recovers to 6 ÷ 3 = 2 mm.
Two things follow from this. First, a higher ratio covers a wider range of object sizes with one tube — useful when a part is fat in the middle and thin at the wire. Second, for the tube to grip, the recovered ID must end up smaller than the object; for it to slide on, the expanded ID must be larger. To skip the arithmetic, drop your wire gauge or a measured diameter into the heat shrink size calculator and it returns every compatible size for each ratio.
2:1 Ratio — The Insulation Workhorse
A 2:1 tube collapses to half its supplied diameter. It is almost always single-wall — one layer of flame-retardant polyolefin, thin and flexible, rated to UL 224 and up to 600V, with a continuous temperature range of about −55°C to +125°C. There is no adhesive: it grips mechanically and provides insulation, abrasion resistance, and strain relief.
That makes 2:1 the right choice for uniform wire in dry, protected conditions — insulating a splice inside a panel, sleeving and bundling a harness, or strain relief on indoor equipment. Its half-diameter range is plenty for wire that has no bulge, and being thin, it applies fast. Its one limitation: with no adhesive, it is not waterproof. For the full list of jobs it does best, see our guide to 2:1 heat shrink uses, and browse Helixal's 2:1 standard heat shrink range.
3:1 Ratio — The Versatile, Sealed Default
A 3:1 tube collapses to one-third of its diameter, and it is usually dual-wall: the polyolefin outer wall plus an inner lining of hot-melt adhesive. Heat it and two things happen at once — the outer wall shrinks tight while the adhesive melts and flows into every gap, then re-solidifies on cooling into a 360° waterproof, corrosion-resistant seal bonded to the wire jacket.
The extra collapse range is exactly what irregular connections need. Crimp connectors, butt splices, ring terminals, and battery lugs are bulky in the middle and thin at the wire — a 3:1 tube slides over the fat part, then shrinks far enough to clamp the thin wire, with the adhesive bridging the step-down so there is no gap to leak. That combination makes 3:1 dual-wall the professional default for marine, automotive, solar, and any outdoor or vibration-prone wiring. It is rated −55°C to +125°C and resists fuel, chemicals, and UV. Shop the 3:1 dual wall line — common picks are 1/4" for small splices, 1/2" for larger crimp barrels, and 1" for battery lugs.
Application tip: Dual-wall needs even, sustained heat for the adhesive to flow — use a heat gun, not a lighter. A small bead of adhesive at each end confirms a complete seal.
4:1 Ratio — The Widest Collapse Range
A 4:1 tube collapses to one-quarter of its supplied diameter — the widest common ratio. It exists for extreme diameter transitions: covering a large connector body, backshell, or lug that then steps down onto a much thinner cable, plus cable re-jacketing and military, aerospace, and subsea assemblies where a single sleeve must span a big change in profile.
Where 4:1 earns its place is range. Because each tube closes to a quarter of the diameter it ships at, a short set of sizes spans a spread of cable that would take roughly twice as many 2:1 or 3:1 sizes to cover — which is why 4:1 is normally sold as an assortment kit, and why it suits a service van, a toolbox, or a bench that never knows what the next job looks like. On one known joint with a modest step-down, a correctly sized 3:1 dual-wall tube is still the simpler buy — but the moment the shoulder is steep, or one box has to fit everything, 4:1 is the ratio doing the work.
A high ratio does not have to mean a bare tube: our 4:1 line is adhesive-lined dual wall, built on a metric grid from 4 mm to 52 mm, so it seals the step-down as well as spanning it. That matters more at 4:1 than anywhere else, because the steeper the shoulder the tube has to close over, the bigger the void a liner-less tube leaves behind.
2:1 vs 3:1 vs 4:1 — Side by Side
| Property | 2:1 | 3:1 | 4:1 |
|---|---|---|---|
| Collapses To | ½ diameter | ⅓ diameter | ¼ diameter |
| Typical Wall | Single wall | Dual wall (adhesive) | Single or dual wall |
| Waterproof | No | Yes — adhesive seal | Depends on wall |
| Best For | Uniform wire, insulation, bundling | Connectors, splices, lugs, marine/auto | Steep step-downs, re-jacketing, mixed-size kits |
| Environment | Dry, indoor, protected | Wet, outdoor, vibration, marine | Wet, outdoor, marine when dual wall |
| Availability | Very common | Very common | Usually sold as assortment kits |
Helixal covers all three ratios — 2:1 standard and 3:1 dual wall in all 13 sizes from 3/32" to 2", plus the new 4:1 adhesive-lined dual wall line on a metric grid from 4 mm to 52 mm.
How to Choose the Right Ratio
Two questions decide it — the shape of the connection and its environment:
Uniform wire, stays dry → 2:1
Insulating a splice in a panel, bundling a harness, sleeving indoors. No bulge to clear and no moisture — a thin single-wall 2:1 tube is enough and costs less.
Bulky part or gets wet → 3:1
Crimp connectors, butt splices, ring terminals, battery lugs, and anything marine, automotive, solar, or outdoor. One 3:1 dual-wall tube covers the transition and seals it waterproof.
Severe diameter step-down → 4:1
A large connector body or backshell dropping to a much thinner cable, MIL/aerospace re-jacketing, or one kit that has to fit a wide spread of cable sizes. Adhesive-lined 4:1 seals the shoulder as well as spanning it.
Not sure of the size? → Calculator
Size to the widest point the tube must pass over, with 10-20% clearance. The calculator returns every compatible size for each ratio automatically.
Still deciding between single and dual wall specifically? Our dual wall vs single wall guide covers that call, and the heat shrink size chart & selection guide maps every AWG wire gauge to a tubing size — or jump straight to what size heat shrink you need by gauge.
SHOP HELIXAL 2:1 & 3:1 HEAT SHRINK
Both ratios, 13 sizes each. Direct checkout, ships fast across the USA.
TRADE & WHOLESALE
Buying by the case?
Helixal supplies both 2:1 single wall and 3:1 dual wall in bulk to electricians, shops, and distributors — all 13 sizes, competitive volume pricing.
View Wholesale Options →Frequently Asked Questions
What does heat shrink ratio mean?
It is how far the tubing collapses when heated, versus its supplied diameter. 2:1 shrinks to half, 3:1 to one-third, 4:1 to one-quarter. Recovered ID = expanded ID ÷ ratio, so a 3:1 tube with a 6 mm expanded ID recovers to about 2 mm. A higher ratio covers a wider range of object sizes with one tube.
What is the difference between 2:1 and 3:1 heat shrink?
2:1 halves its diameter and is usually single-wall with no adhesive — good for insulating uniform wire in dry conditions. 3:1 drops to a third and is usually dual-wall with an adhesive liner, so it slides over bulky connectors and lugs, shrinks tight on the thin wire, and seals waterproof. 3:1 is the standard for marine, automotive, and outdoor work.
Can I use 3:1 heat shrink instead of 2:1?
Yes — 3:1 works anywhere 2:1 would, provided the expanded ID still slides over the object. It grips harder, covers a wider size range, and adds a waterproof seal. Prefer 2:1 only when you want a thin, low-cost, adhesive-free sleeve on dry, uniform wire.
What is 4:1 heat shrink used for?
Steep diameter transitions — one tube covering a large connector body or lug and shrinking down onto a much thinner cable — plus re-jacketing and military, aerospace, and subsea assemblies. It also lets a short set of sizes cover a wide spread of cable, which is why it is normally sold as a kit and why it suits a van or repair bench. For a single ordinary connector on a known cable, 3:1 dual-wall is the simpler buy.
Is 3:1 or 4:1 heat shrink tubing better?
Neither in general — it depends how steep the step-down is. If one tube must pass over a bulky connector or lug and still grip a cable less than a third of that width, use 4:1. For ordinary crimp connectors, butt splices, ring terminals and battery lugs, 3:1 dual-wall covers the transition and seals it, and it comes in the imperial sizes those jobs use. 4:1 also suits a kit that has to fit a wide spread of cable.
How much does heat shrink tubing shrink?
By its ratio, in diameter: 2:1 to half its supplied size, 3:1 to a third, 4:1 to a quarter — the smallest it will go with nothing inside. On a wire it stops where it meets the wire, so pick a size whose recovered diameter is smaller than the thinnest part it must grip. It also loses about 5–10% in length, so cut it a little long.
What heat shrink tubing shrinks the most?
4:1 is the highest ratio in common use — it recovers to a quarter of its supplied diameter, is usually dual-wall adhesive-lined, and is made for steep step-downs and re-jacketing. More shrink is not automatically better: for most connectors 3:1 dual-wall already covers the transition and is the simpler buy.
How do I choose the right heat shrink ratio?
Match it to the connection. Uniform wire that stays dry → 2:1. Bulky connectors, splices, or lugs, or anything wet, outdoor, marine, or automotive → 3:1 dual-wall. Use 4:1 for steep step-downs, re-jacketing, or one kit that has to fit a wide spread of sizes. Always size to the widest point the tube must pass over, with about 10-20% clearance.
Related Articles
Dual Wall vs Single Wall Heat Shrink
The construction difference behind the 2:1 and 3:1 ratios — and which one your job needs.
Heat Shrink Tubing Size Chart & Selection Guide
AWG-to-tubing-size mapping for every wire gauge, at both 2:1 and 3:1.
Heat Shrink Size Calculator — Free Tool
Enter a wire gauge or diameter and get every compatible size for 2:1, 3:1, or 4:1.
2:1 Heat Shrink Tubing Uses
The nine jobs single-wall 2:1 does best — with a bundle sizing chart.
Ready to order?
Shop Helixal Heat Shrink Direct
2:1 single wall and 3:1 dual wall adhesive-lined heat shrink in 13 sizes. Secure direct checkout — ships fast across the USA.